You’ve done it: you launched a blog, grew your audience and achieved your digital publishing goals. It may be tempting to rest on your laurels for a bit. Unfortunately, the media world never stands still, and neither should you. Now that you’ve built a solid online following, it’s time to take the next step and launch a podcast to complement your already-successful blog.
Podcasts are currently one of the hottest media formats, with participation numbers that are climbing even as other outlets—such as social media—are starting to decline in popularity. According to a 2018 study by The Infinite Dial, 64 percent of Americans were aware of podcasting, and 44 percent had listened to at least one podcast, with 26 percent listening at least monthly. That percentage translates to an audience of more than 73 million people.

Benefits of Turning Your Blog into a Podcast
Podcasts can be an especially valuable tool for bloggers, yielding returns that text-based content alone simply can’t. Consider the following benefits of expanding your blog into a podcast:
Create a stronger connection with your audience
Hearing your voice provides a level of intimacy and connection that goes deeper than anything you can achieve through words on a screen.
Audio podcasts are more versatile and convenient than written content
Your audience can take your podcast anywhere and listen while they’re driving, walking the dog, exercising or working.
People will consume more of your content
Readers may only skim a blog post, or at most spend five or 10 minutes reading it; in contrast, popular podcasts typically range in length from 30 minutes to more than an hour, allowing you to deliver more value to your audience.
You’ll have the chance to connect with other professionals in your industry or niche
You may be invited to be a guest on a fellow podcaster’s show, or you might interview an industry “giant” on your own podcast. These connections not only grow your audience, but also build mutually beneficial relationships that continue to generate benefits down the road.
Establish a reputation as a subject matter expert in your field
As an inherent side effect of creating high-value content and featuring industry leaders on your show, you’ll also become recognized as a thought leader in your field, which enhances your brand and may also open the door to other opportunities, such as invitations to speak at conferences and other events.
Repurpose your existing content
A podcast provides a new venue for revisiting and expanding content you’ve already created. You may reach people through your podcast that missed the original post on your blog, and the new format adds value for existing readers as well.
Get additional exposure
Podcast listeners often rely on directories and aggregators like iTunes and Sticher to find new shows that match their interests. These searches provide new opportunities for people to discover you and your content.
Intimidation of Getting Started
The prospect of starting a podcast can be intimidating. However, it’s not nearly as expensive or technologically challenging as you may be imagining. Get a high-quality mic—typically available for around $60 on Amazon. Then, some help from one of the free or inexpensive podcasting programs available online. With this, you can start creating new content right away. Read on for a step-by-step guide to launching your podcast.

Step 1: Make Sure Your Blog Translates Well to a Podcast Format
Before you pour any time or funding into launching a podcast, you’ll need to ensure that your blog is both technologically and creatively suited for podcasting.
Technology Check
While it’s possible to transform content published elsewhere into a podcast, it will be a much easier process if you already have a self-hosted WordPress blog with a dedicated domain name. The plugins available through WordPress provide for a more seamless transition. They also give you closer control over details like graphics, feeds, content delivery and more.
Creative Check
Before you launch headlong into creating your podcast, you’ll need to have a compelling, well-developed long-term creative vision for your content. What is the fundamental purpose of your podcast? Who is it designed to reach, and what value will it bring to their lives, or what problems will it solve? What kind of topics do you plan to explore? What guests might you feature on the show?
Take the time to sketch out an editorial calendar for the first six months to a year of shows. It’s also a good time to decide how frequently you plan to release new episodes. If you have trouble filling in that calendar, hold off on your podcasting journey until your vision is a bit more fleshed-out.

Step 2: Select Your Microphone and Podcasting Software
Thanks to the growing popularity of podcasts, you have plenty of inexpensive, reliable options for the audio equipment you’ll need to record and share your files.
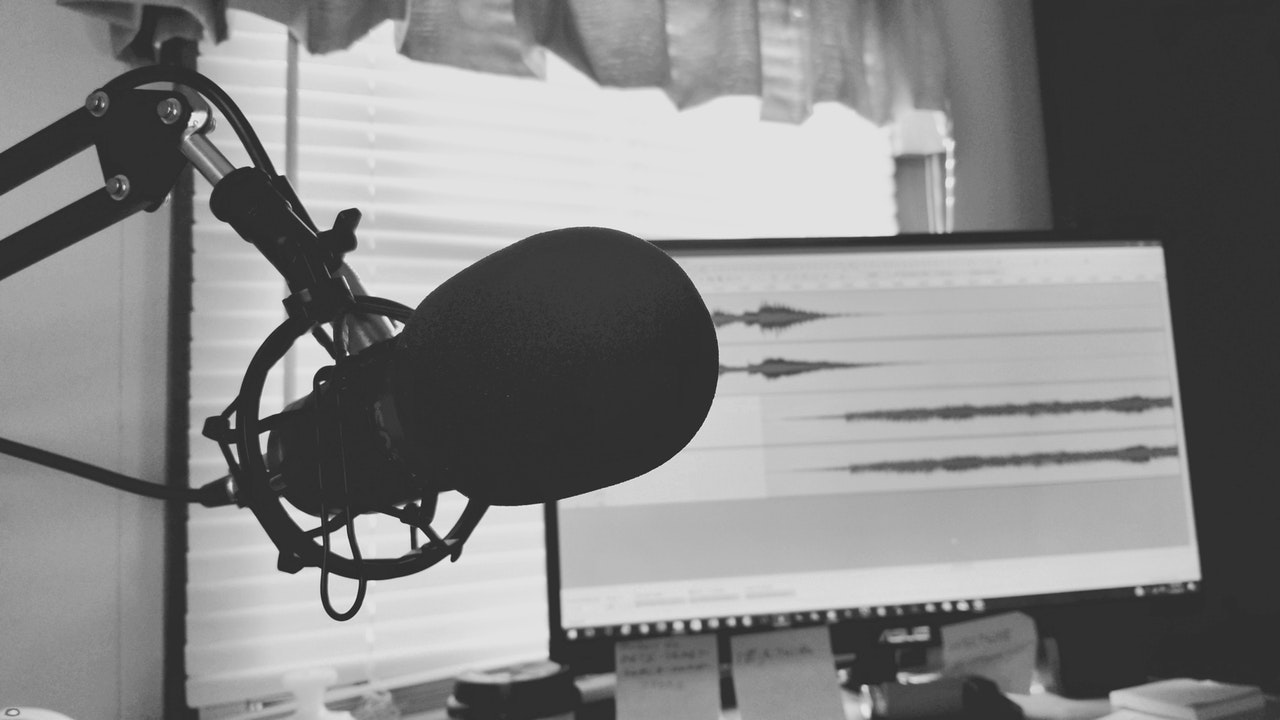
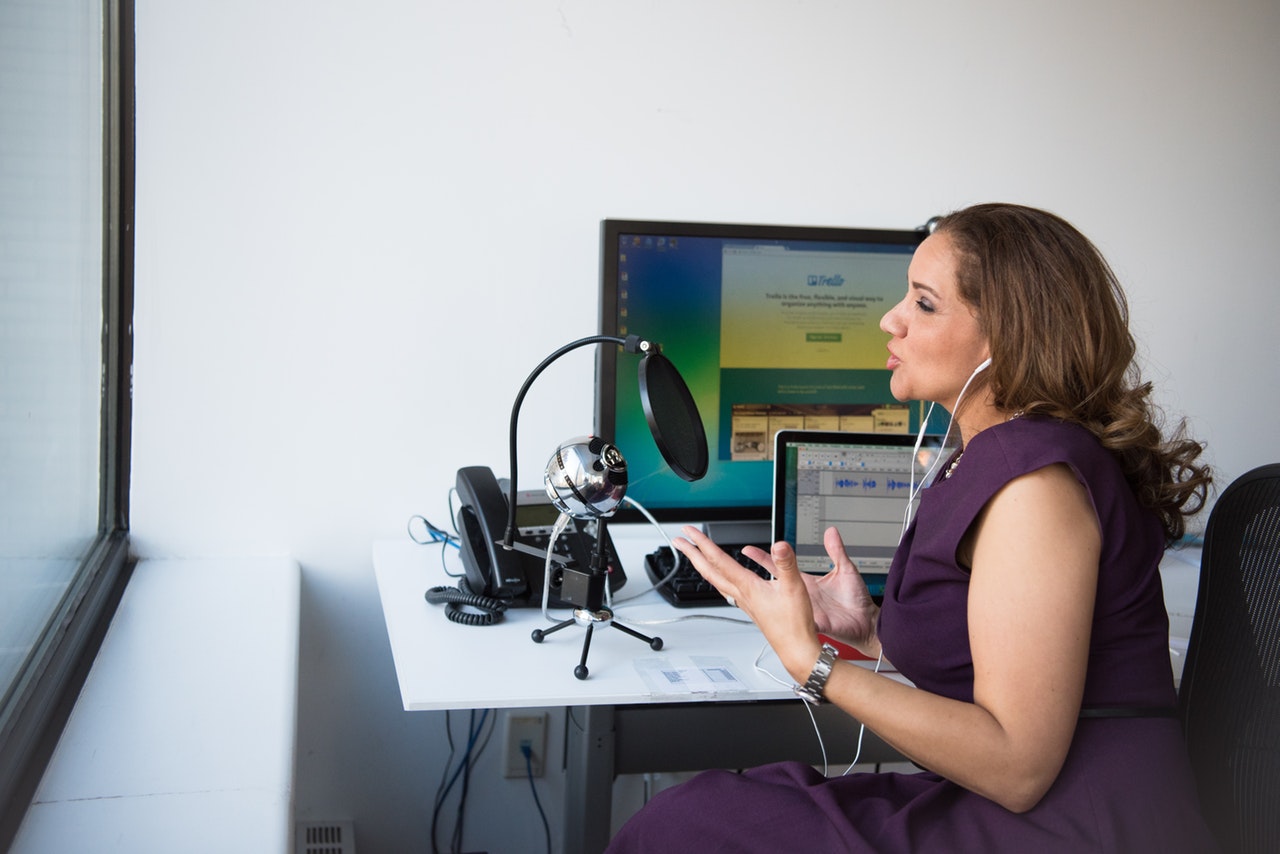
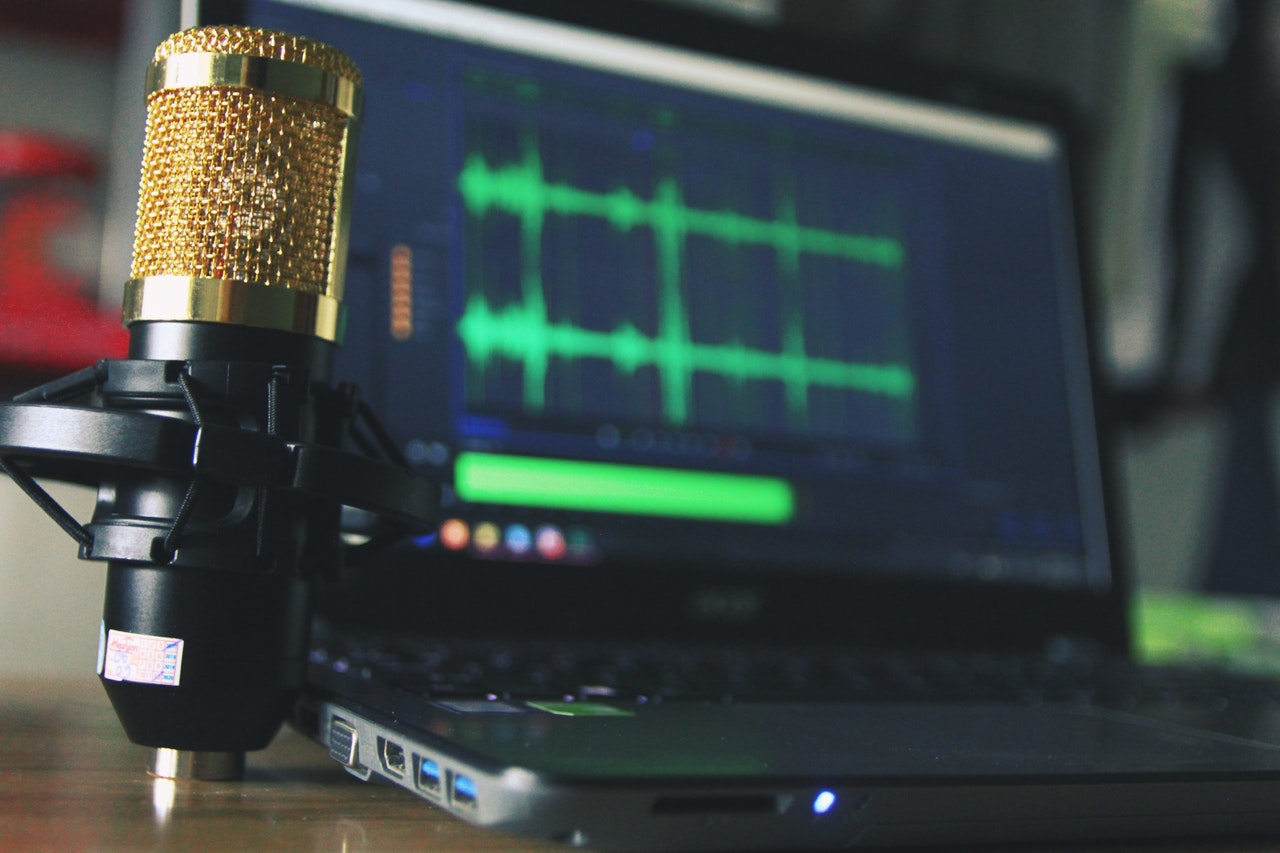
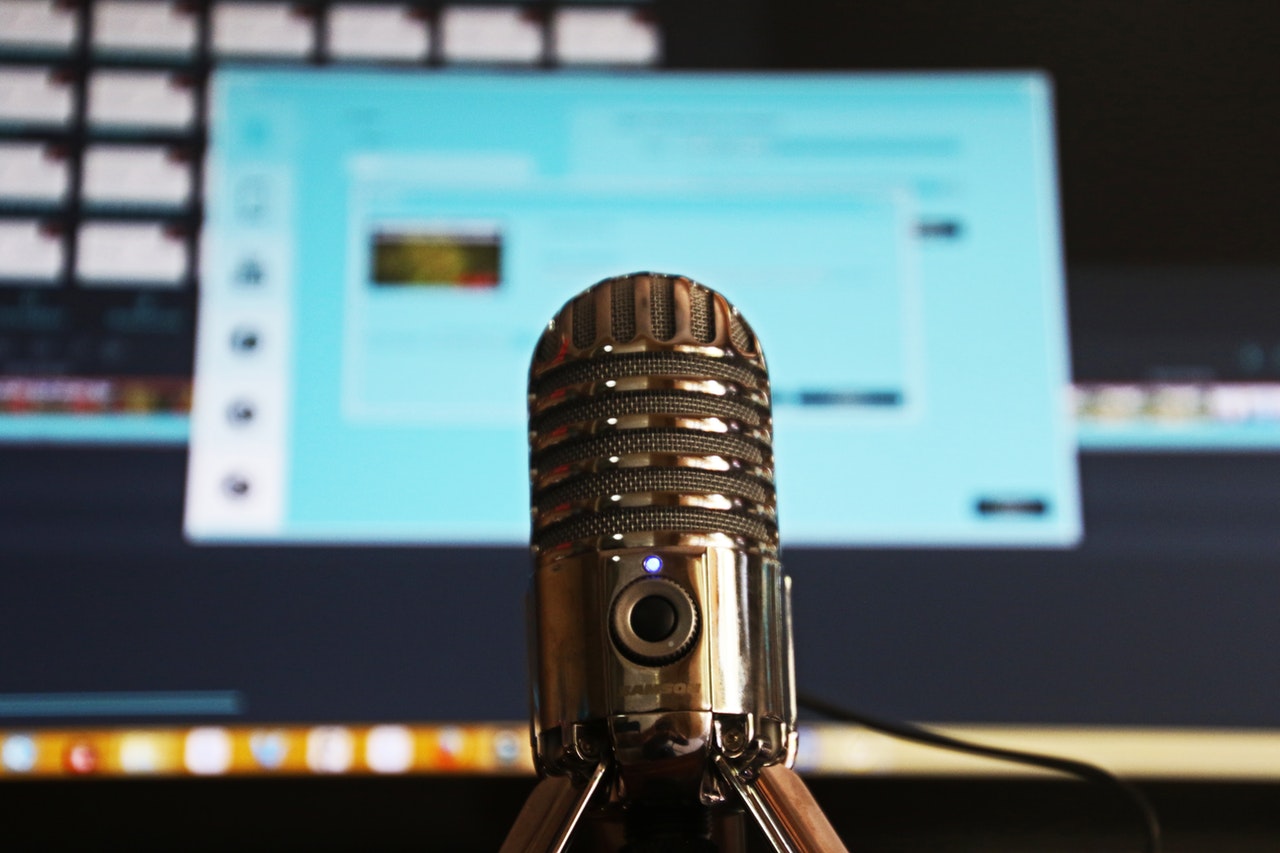
First, you’ll need a quality microphone. You can typically find one that meets your basic requirements for around $100. Many beginning podcasters favor the Audio-Technica AT2020USB+. This offers USB output for digital recording and high-quality A/D converter with 16-bit, 44.1/48 kHz sampling rate for crisp audio. The Blue Yeti USB Microphone comes in a wide range of color options. It contains three condenser capsules for crystal-clear recording of podcasts, music, voiceovers and interviews.
Keep in mind that mics at lower price points tend to pick up more background noise, so the less you spend, the more important it will be to maintain a quiet recording environment. It should be free as possible from any ambient noise—even something as quiet as a refrigerator or other appliance.
Programs for Recording and Editing
Next you’ll need to find a program for recording and editing your podcast. The following options rate highly among both beginning and veteran podcasters.
- Audacity: Perhaps the most popular software for beginners, Audacity is a free, open-source program that records live audio and comes with some simple sound effects. It processes audio files at high-level sample and bit rates and can accommodate intros and music beds, allowing you to produce a professional-sounding podcast with a minimal learning curve.
- Adobe Audition: You’ll have to pay a monthly subscription fee to access this program, but if you’re accustomed to the Adobe platform (which includes video-editing program Premiere as well as graphic design programs like Photoshop and Illustrator), it may be a good choice for you. It offers a wide range of sound editing tools, but its complexity may challenge beginners.
- GarageBand: Designed with musicians in mind, this program offers all the features you’ll need to produce both simple and complex podcasts. It also includes a massive library of music loops you can use to create custom music for your show. Unfortunately, it’s only available for Mac operating systems.

Step 3: Preparing Your Blog for Podcasting
In the simplest terms, your podcast is an audio file embedded in a blog post. Your posts are then incorporated into a feed directed to iTunes (or other programs for listening to podcasts), where listeners receive notifications that a new episode of your podcast is available. All of these steps are folded into a seamless process through the Blubrry PowerPress plugin.
First, log into your WordPress blog, go to the Plugins tab, select “Add New” and search for Blubrry PowerPress. After you’ve installed it, you’ll need to decide whether to use the program’s Simple or Advanced mode. As a new podcaster, Simple mode should accommodate your needs; the Advanced mode’s additional functionality may come in handy later as you become more proficient.
Podcast iTunes Information
Next, you’ll fill in the following iTunes information under Podcast Settings:
- Program Title: This is the primary title of your show, so it should be interesting while also communicating to listeners what the show is about.
- Program Subtitle: This section assists people in finding your show, appearing to subscribers and in searches, but not on your show’s main page. This one-line descriptor should be informative and attention-grabbing.
- Program Summary: Here you’ll have up to 4,000 characters to draft a long-form summary of your show to help listeners decide if it fits their interests.
- Categories: Categories play a critical role in iTunes, so be as specific as possible. Listeners use categories to sort the thousands of available podcast options, and they’re also used to determine podcast popularity rankings.
- Explicit: Listeners do pay attention to this descriptor, so consider your personality and style when deciding whether your show will be Clean or Explicit.
- Email: Enter the email associated with your blog and/or podcast.
- Type: Select Episodic if each episode will be a stand-alone show; if you plan to build on a topic over time, choose Serial. The Episodic setting places the newest show at the top of your feed, while Serial arranges episodes in chronological order with the oldest episode first.
Step 4: Develop Your Artwork
The artwork associated with your show can help it stand out in the crowded podcast field and should reflect the brand style you’ve already established with your blog. You can create your artwork in a program like Photoshop or Pixelmator or enlist a graphically gifted friend or blog reader to help you with it. Just make sure the final image size is 3,000 pixels by 3,000 pixels so it shows up clearly on high-resolution retina screens as well as in smaller formats. Once you’ve created your artwork, upload it to the Artwork section of PowerPress.

Step 5: Record and Release Your First Episode
Using the podcasting software of your choice, record your episode and add any desired intros, music or sound effects. Be sure to listen to the final version at least once to check for technical problems or other issues. (You may want to have a friend do this as well to get some honest feedback.) Once you’ve perfected it, export your file as an MP3 and save it to your computer.
Next, upload your MP3 file to a podcast hosting service such as Libsyn. Unless you have nearly unlimited bandwidth on your blog, hosting your audio files there raises the risk of a site crash. Most hosting plans are relatively inexpensive ($5-40 per month) and are priced according to how much bandwidth you use.
Pushing to your Blog
After selecting a plan, go to the Content tab, select Add File for Download Only, Upload and finally Publish after selecting your MP3 file. Once your file is published to the host, the program will generate a URL for the online location of your episode, which you’ll need to copy for later use.
Go back to your blog, go to Posts > Add New and create a headline with the title of the podcast episode. Fill in the body text with a description of the episode as well as the player and podcasting shortcode. Below your blog post’s content section, you’ll see a field labeled Podcast Episode, which is where you’ll past the URL for the file’s location on the hosting site. Finally, check Podcast as the post category, add a few tags and click Publish. Your first podcast episode is now live on your blog!
Step 6: Submit your Podcast to iTunes
Your readers can now listen to your podcast via the post on your blog, but to really grow your audience, you need it to be available through iTunes, where millions of podcast listeners download their shows. Log into iTunes using the account you want associated with your podcast, go to the Podcasts tab at the top of the page and click on Submit a Podcast. On the next screen, fill in the requested details as well as the URL you copied from the hosting site. It may take a few hours or days for your show to appear in iTunes; once it does, check all text and graphics to ensure they appear correctly.
Step 7: Promote Your Podcast
While adding your podcast to iTunes will help people find it, you need to invest some time and energy promoting it to significantly grow your audience. Consider adding these tasks to your promotional to-do list:
- Connect with other podcasters by following popular shows in your niche and sharing their episodes on social media.
- Advertise on established podcasts whose content is similar to yours.
- Promote it via your blog mailing list.
- Ask friends and blog readers to review it on iTunes to boost your exposure.
- Coordinate your episodes with current events—people may be more interested in a political podcast around national elections, or a sports-related podcast may draw increased attention around the Super Bowl or the Olympics.
Step 8: Be Consistent and Patient
It’s rare for a podcast to blow up overnight, no matter how compelling the content or timely the topic. Be consistent in delivering high-quality episodes on a regular basis and keep promoting your show via every available channel. Over time, you’ll build traction, connect with new listeners and identify new opportunities for growing your brand through your podcast.


