It is crucial to ensure that your blog’s visitors are having the most optimal possible experience. This being the case, it is just as important to ensure that they are not kept waiting. Pages that load slower than molasses are one of the most common frustrations reported by people who frequently blogs.
Having slower page load times affects so much. From the number of people on your site, to your rankings in Google, to the likelihood of obtaining sales on products and services. Having a lightning-fast, minimal website with quick load times is crucial to blogging success.
However, what can be done about this? In all likelihood, you aren’t a stellar full-stack web developer. As such, how are you supposed to know how to speed your website up? A quick hint: you aren’t. However, tools such as WP Super Cache work wonders to ensure that you can obtain a faster, more efficient site with minimal effort.
WP Super Cache is a completely free WordPress plugin that is notorious for cutting page load times in half or more without and special knowledge needed. But how does it work?
WP Super Cache: How It Speeds Up Websites
Before diving into the inner workings of WP Super Cache and how it can be used to supercharge your website, there are a few more higher-level things that need to be covered.
The first thing that needs to be understood is the way WordPress provides content to its visitors. This is going to get a little bit into the weeds. However, I will pull you back out before it gets overwhelming.
Inner Workings of Your WordPress Site
When your WordPress blog gets a new visitor, the WordPress platforms builds up the page they are visiting through various processes. Some of these processes include:
- The execution of PHP coding, such as functionality that is included by your WordPress theme or other plugins.
- Queries to the website database to properly retrieve content such as images and text in blog posts.

Typically, these processes are executed dynamically by WordPress’ backend. What this means is that WordPress needs to execute these processes separately for loading website content for every single individual visitor. While computers have become impressively fast in recent years, that’s still a good bit of time.
Additionally, visitors are unable to see your website at all until these loading processes have been completed. This means that they are required to sit and wait before beginning to use your site. This can lead to bounces (people leaving your site) when it loads slowly. These are the types of problems that the WP Super Cache plugin was designed to fix.
Dynamic to Static: How WP Super Cache Speeds Up Your Website
How does WP Super Cache perform this magic? Through the wonders of page caching, this plugin stores static HTML copies of content for visitors. To put this plainly, it stores a copy of the result of the dynamic loading process for faster retrieval by visitors.

Because of this, web hosting servers do not need to query databases and execute PHP forever single time a visitor navigates to your page. Instead, it can serve the finished product to visitors. Because the server has far less of a workload, the finalized page can load far faster.
Getting Started with WP Super Cache
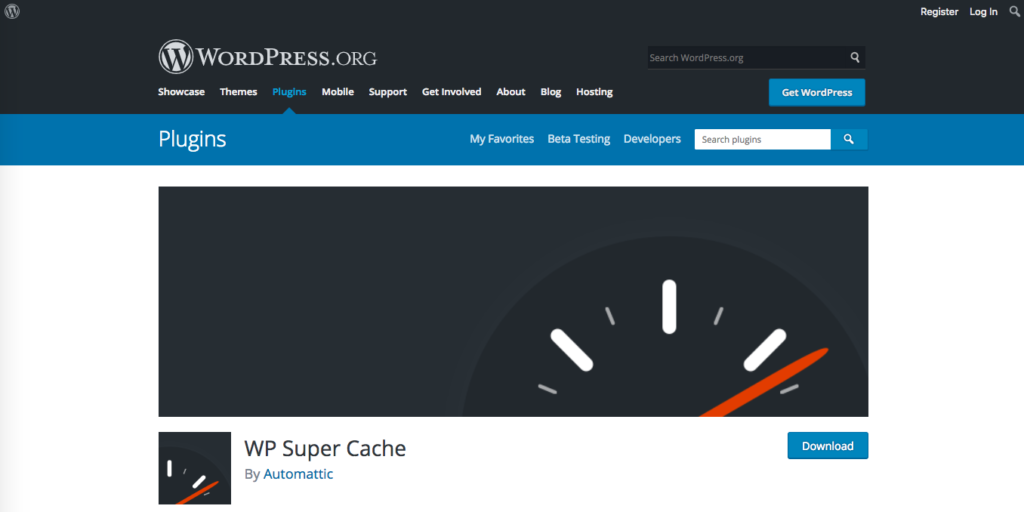
The WP Super Cache WordPress plugin is listed highly in the official plugin directory of WordPress.org. In fact, in many cases when you go to the Plugins section of your WordPress installation and click Add New, is it one of the primary options.
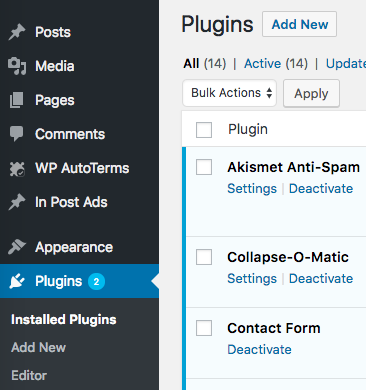
Regardless, it can be installed straight from the WordPress Dashboard in all cases. Go to Plugins > Add New. Search for WP Super Cache. Click Install Now.
After a couple seconds of installation, the Install Now button will read Activate.
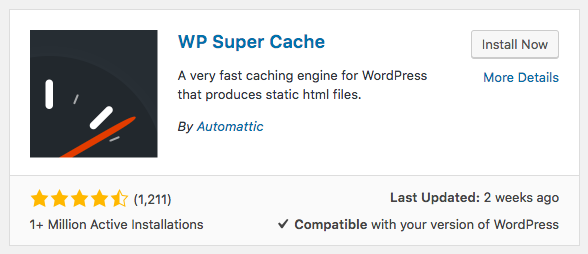
Click the blue Activate button, which activates the plugin and configures it for your specific WordPress install.
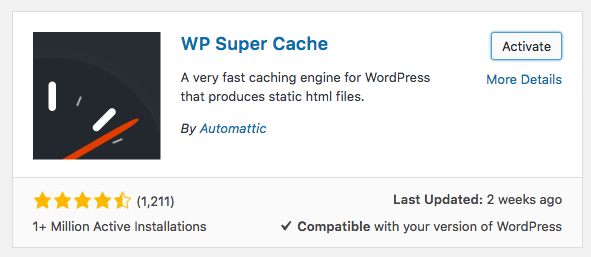
Click the blue Activate button, which activates the plugin and configures it for your specific WordPress install. At this point, WP Super Cache is ready to rock and roll. Truly a two-click initial installation. However, at this point, it is not ready for optimal usage. From here, we dive in.

Setting Up Basic Caching: Cut Page Load Times in Half
One of the most impressive aspects of WP Super Cache is the ease at which it can start being used. Even more impressive is that setting up one of the most effective pieces of this plugin is as simple as one click of a button. No joke!
While some of the more advanced settings can be clicked on and adjusted to further optimize load times, clicking on that one simple button provides the strongest boost in speed. We will cover some of the more advanced settings shortly. Here is how to do this:
In your WordPress dashboard, navigate to the Settings sidebar section, and then click WP Super Cache. Select the button for “Caching On (Recommended)”, then click Update Status.
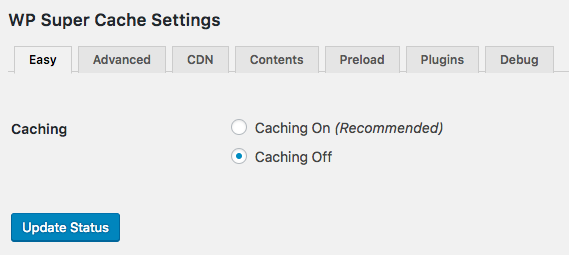
And then that’s it.
In the blink of an eye and with one button press (okay, technically two), you have activated the basic page caching for your website. This piece alone will lead to a massive improvement in speed in many cases. But why stop there? WP Super Cache has even stronger advanced settings that will not only prevent issues related to caching, but also further the speed of your blog. Let’s push on and configure some of these settings up.
Configurations of Advanced Settings for WP Super Cache
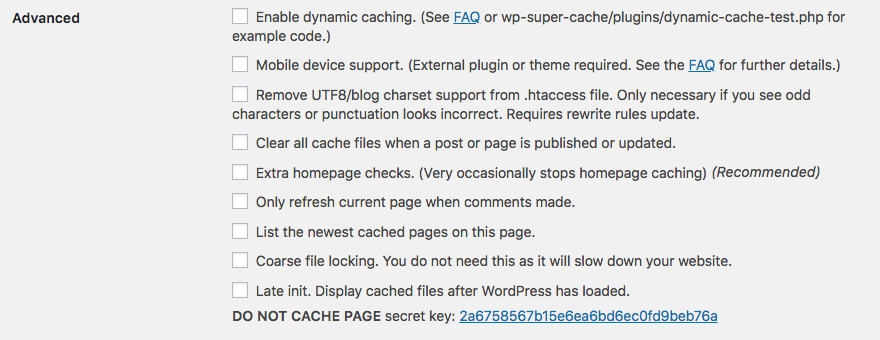
To begin, go to the Advanced top tab in the settings area for WP Super Cache. Most of the advanced settings aren’t scary at all and can be properly configured with nothing more than checking off boxes.
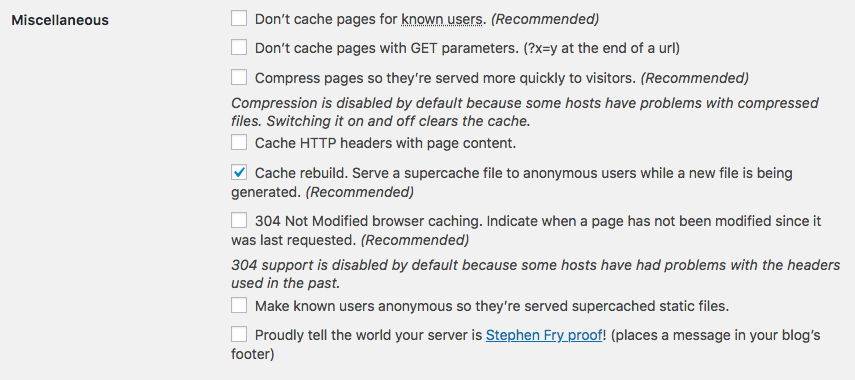
We will go through most of them, but let’s start off with some of the options in the Miscellaneous section. Here are five of the strongest account settings for your WP Super Cache configuration.
Excluding administrator accounts and extraneous users from caching
This is performed so WordPress continues to dynamically generate pages for those individuals who are still logged into the site. Why though?
One issue that commonly arises from the caching process is that it takes about a half hour or so for changes made to a site to truly “go live”. What this means is that you would need to wait at least a half hour before being able to see results of changes made on-site in the frontend or backend. This is a massive hindrance, especially in a large-scale editing or publishing session.

Checking the box for “Don’t cache pages for known users” completely keeps this from happening to users such as yourself, a logged in administrator on the WordPress backend. WordPress continues to generate these pages dynamically for any user who is logged in.
This means you will always retrieve the latest version of your website, generated dynamically. Standard website visitors, though, will receive the performance-optimized static version from WP Super Cache.
Enabling of GZIP Compression provides additional speed boosts
The next step would be to check the box that compresses pages so they are served more quickly to website and blog users.
Here is how this works:
WP Super Cache compresses and shrinks the size of static files that are generated. Incredibly, this is generated without having any effect on the functionality of the file. As the file size is far smaller, the page loads a bit faster.
A note: While we have personally never experienced adverse issues, the above setting checkbox has been known to cause issues with some web hosts. Thankfully, if you’ve followed our How to Start A Blog guide, BlueHost is not one of the affected web hosts.
For the above reason, though, it is vital to double check the functionality of a site when enabling this setting. If any issues are encountered, reverting is as simple as unchecking the box. While you may end up missing out on small speed boosts, the difference will be negligible.
Enabling Browser Caching eliminates downloads that may be redundant
At this point, you have enabled WP Super Cache for page caching purposes. However, it is important when diving into advanced settings, you need to enable the plugin for browser caching as well. This works to boost load times even more for visitors who return to your site. But how does this work?
Browsers will temporarily store files on the computers of each website visitor. Through the enabling of browser caching, you tell the browser of your site visitor to not reload pieces of the web page that remain unchanged from their previous visit.
Instead, their web browser will load the file straight from their computer. This is far faster compared to downloading it from the server every time. The setting for this is enabled by checking the box that says “304 Not Modified Browser Caching”.

Excluding pages from caching if issues occur
Caching is highly unlikely to end in problems with almost all your site. This doesn’t mean that it won’t ever happen, though. This is especially true on any pages where visitors are asked to enter information into a form.
We have had contacts have issues where portfolio-centric contact forms failed to properly send because of a WP Super Cache setting not playing nice with the contact form plugin. No Bueno. This can easily lead to losses in business.
It’s why it is crucial to test the important pages of a website as an anonymous “new” user upon installation. Remember, above we enabled these settings to exclude WordPress accounts on your site from seeing cached pages. How can this be done though?
Open a new window in Incognito mode. If you are using Chrome like most of us, just hit Shift, Control, End. If you are using Internet Explorer or Firefox, hit Shift, Control, P. Test the page in this way to be considered anonymous in the eyes of your website. If you notice anything strange, there is a way through WP Super Cache to manually exclude those pages from being cached. This avoids the prevalence of these issues.
Scroll the Advanced Settings page until you get to Accepted Filenames and Rejected URLs. There is a section that begins with “Add Strings (Not a Filename)”. Then, enter the slug (URL) for the page that is experiencing issues.
For example, you can manually exclude Contact Us pages. Are you unsure where to get the URL string? Go to the page in the live version of the site, and then copy everything that comes after the slash of the website URL. So, if your page is [URL]/contact-us, then your slug is contact-us.
Consider utilizing a CDN for even more speed
Surprisingly, even with the technological advancements of the Internet, physical distance from servers can affect page load times. For this reason, the further from your host server the visitor is, the slower the site will load. This doesn’t happen if you utilize a CDN, or Content Delivery Network.
When using a CDN, your blog distributes copies of your websites static files (images, etc) to servers located all around the world. This way, visitors can download the files from locations that are close to them, versus downloading straight from a host server.
WP Super Cache provides options for installing straight to a CDN from its CDN tab. However, we at BloggerTips don’t recommend using WP Super Cache for this. Instead, we highly suggest Cloudflare. Cloudflare is simple to start, offers free plans, and includes security features to maintain the safety and integrity of your blog.
However, you cannot use WP Super Cache to get Cloudflare installed. It can be installed by changing nameservers. Here is a great tutorial on how to get started with Cloudflare.
Manually Clearing Caches
At this point, you’re almost done. Remember, caching can delay changes that are made to your website. However, sometimes you will make changes to your website that you are wanting to go live immediately for all website users. This is done by manually clearing caches. What this does is force WP Super Cache to generate new caches to include most recent changes.
To do this, go to Settings > WP Super Cache, and then click on Contents. Choose the option to delete the cache, and then you’re set! The plugin will take care of re-caching.
WP Super Cache for Blog Optimization
From this point forward, once WP Super Cache is installed and configured, you won’t need to be concerned with whether your visitors are waiting for your site to load or not. Now, you have the knowledge necessary to ensure your site loads quickly for everyone. With CDN’s set, this can easily become a global standard.
Put that knowledge into action. Install the plugin, click the button, and configure the settings. Before you know it, your site will be blazing fast and your visitors will be thrilled!